Self-Hosting n8n on Raspberry Pi with Cloudflare Tunnel
Everything is moving so fast. Like, really fast.
The last few weeks have been an absolute mess. I’ve been buried under a mountain of side projects, each one screaming for attention like a toddler who just discovered they have lungs. Claude Code dropped a lot things and suddenly everyone’s terminal looks like it’s possessed by a very helpful demon. Ralph scripts are everywhere. Clawdbot (now called Moltbot), well, it is something. New CLI tools pop up every other day. My GitHub stars list looks like a hoarder’s attic.

Thing is, sometimes you really need to go through this chaos. You need to tinker with a dozen half-baked projects before something clicks. Not every side project needs to be “the one.” Sometimes the journey through the noise helps you find the signal.
But here’s what I’ve learned the hard way. It’s not always best to be an early adopter, especially when life keeps throwing lemons at your face in the shape of AI agents, new CLI tools, and yet another framework that promises to change everything. You don’t need to buy an M4 Mac Studio with 512GB of RAM just to send a Telegram message to your smart washing machine. That’s not tinkering, that’s FOMO with a credit card.
OK, I calmed down…
Among all this chaos, one tool actually stuck. Something that turned my scattered automations into actual useful workflows: n8n.
What is n8n?
n8n (according to YT, pronounced “n-n-n”) is like a self-hosted Zapier, but you own the whole thing. It’s a workflow automation platform where you connect different services, APIs, and triggers through a visual node-based editor. Want to get a Slack notification when someone stars your GitHub repo? Done. Want to scrape a website and dump results into a spreadsheet every morning? Easy. Want to trigger a home automation routine based on weather data? You get the idea.
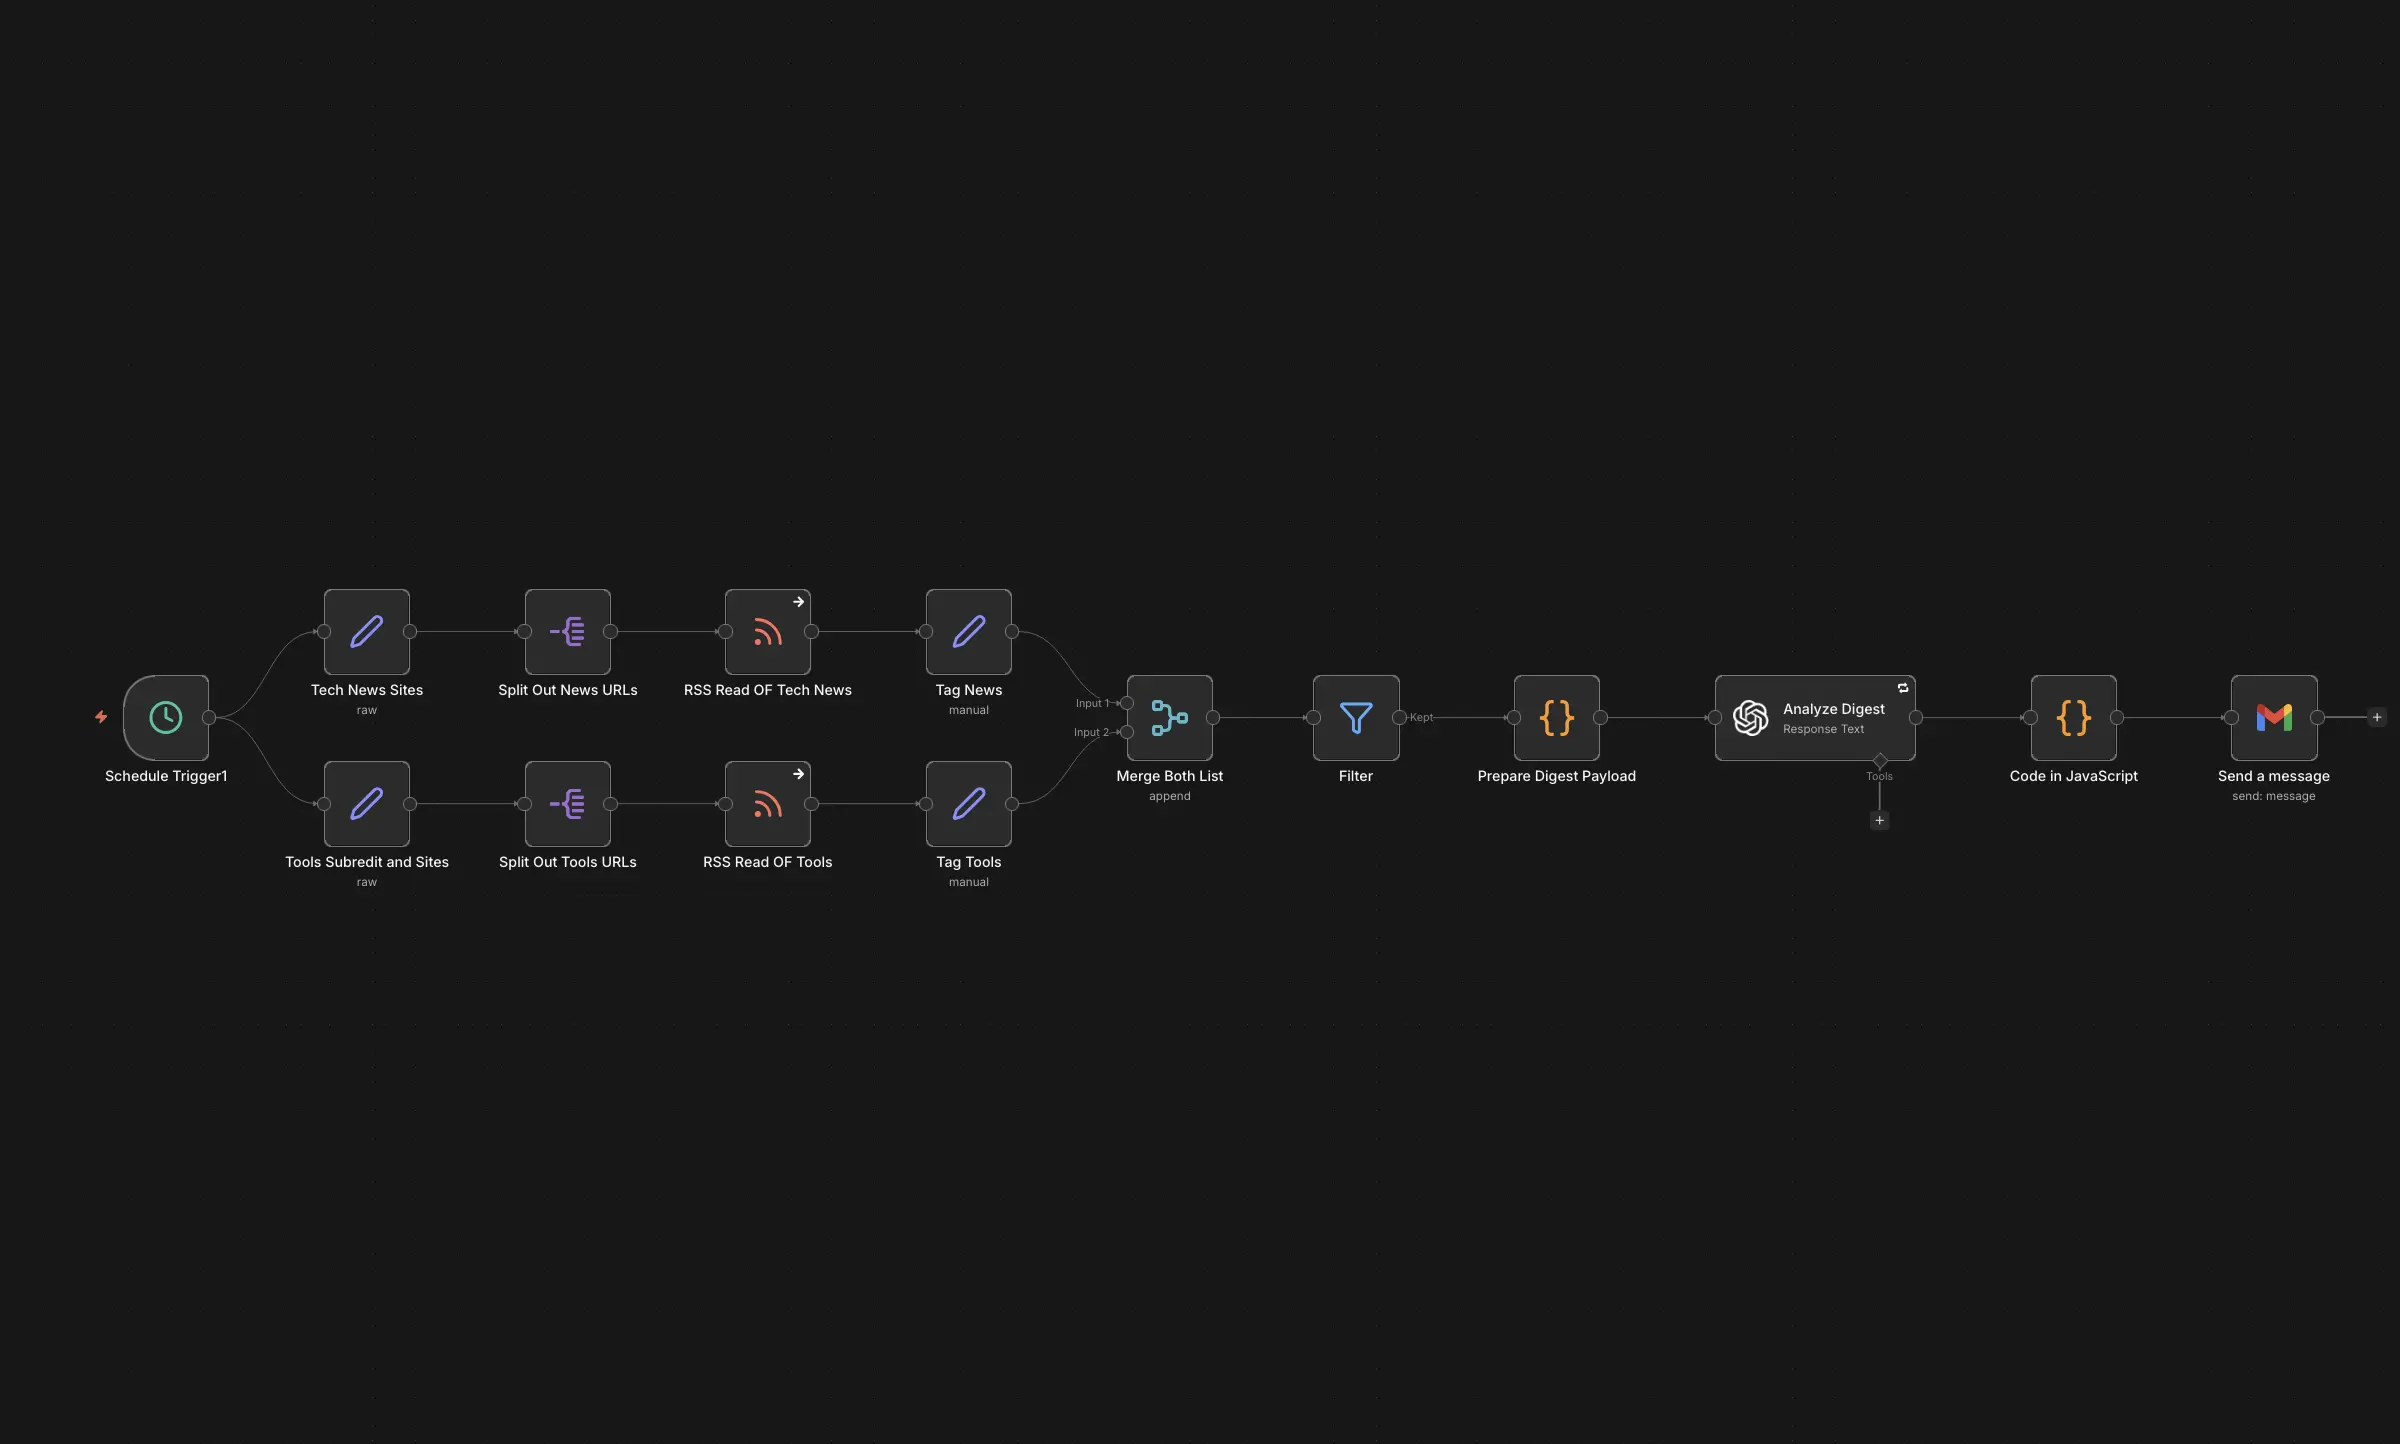 I’ll give more details about these flows in the coming days.
The best part? It can run beautifully on a Raspberry Pi. No cloud subscriptions are needed (at least for personal fair use). No usage limits. Just your tiny computer doing actual work.
If you’ve been following my Raspberry Pi homelab journey, this is another piece of that puzzle. And if you already have Portainer running, deploying this becomes even easier.
Prerequisites
Before we dive in, make sure you have:
- A Raspberry Pi (Pi 4 or Pi 5 recommended, at least 4GB RAM)
- Docker and Docker Compose installed
- A Cloudflare account with a domain pointed to Cloudflare DNS
- Basic terminal knowledge (SSH into your Pi, edit files, etc.)
If you don’t have Docker yet, it’s a one-liner:
curl -sSL https://get.docker.com | shLet’s do this.
The Setup Files
I’m using Cloudflare Tunnel to expose n8n to the internet without messing with port forwarding. This is especially handy if your ISP uses CG-NAT or blocks inbound ports (like mine does). Cloudflare handles SSL automatically, so you get HTTPS out of the box.
Here are the two files you need. Create a directory for your n8n setup first:
mkdir ~/n8n && cd ~/n8ndocker-compose.yml
This is the main configuration file. It sets up both the Cloudflare tunnel and n8n itself:
# ===========================================
# n8n with Cloudflare Tunnel
# ===========================================
# Raspberry Pi
# Cloudflare Tunnel handles SSL automatically
# ===========================================

services:
  # Cloudflare Tunnel - handles routing and SSL
  cloudflared:
    image: cloudflare/cloudflared:latest
    container_name: cloudflared-n8n
    restart: always
    command: tunnel run
    environment:
      - TUNNEL_TOKEN=${CLOUDFLARE_TUNNEL_TOKEN}

  # n8n Workflow Automation
  n8n:
    image: docker.n8n.io/n8nio/n8n
    container_name: n8n
    restart: always
    ports:
      - "127.0.0.1:5678:5678"
    environment:
      # Security
      - N8N_ENCRYPTION_KEY=${N8N_ENCRYPTION_KEY}
      - N8N_ENFORCE_SETTINGS_FILE_PERMISSIONS=true
      # Domain configuration
      - N8N_HOST="YOUR_DOMAIN"
      - N8N_PORT=5678
      - N8N_PROTOCOL=https
      - WEBHOOK_URL="YOUR WEBHOOK URL"
      # Features
      - N8N_RUNNERS_ENABLED=true
      - NODE_ENV=production
      # Timezone
      - GENERIC_TIMEZONE=Europe/London
      - TZ=Europe/London
    volumes:
      - n8n_data:/home/node/.n8n
      - ./local-files:/files
    depends_on:
      - cloudflared
    healthcheck:
      test: ["CMD-SHELL", "wget -qO- http://localhost:5678/healthz || exit 1"]
      interval: 30s
      timeout: 10s
      retries: 3

volumes:
  n8n_data:
Environment Variables (.env)
Create a .env file in the same directory. Never commit this to version control!
# ===========================================
# n8n Environment Configuration
# ===========================================
# Copy this file to .env and fill in the values
# NEVER commit .env to version control!
# ===========================================

# Cloudflare Tunnel Token (REQUIRED)
# Get this from: Cloudflare Zero Trust → Networks → Tunnels → Your Tunnel
CLOUDFLARE_TUNNEL_TOKEN=your-tunnel-token-here

# n8n Encryption Key (REQUIRED for production)
# Generate with: openssl rand -hex 32
# IMPORTANT: Save this somewhere safe! If lost, all saved credentials become unrecoverable.
N8N_ENCRYPTION_KEY=generate-a-random-32-byte-hex-string
Phew.
Step-by-Step Instructions
1. Generate Your Encryption Key
This key encrypts all your credentials stored in n8n. Lose it and you lose access to all saved API keys and passwords. Run this and save the output somewhere safe:
openssl rand -hex 32Copy the output and paste it as your N8N_ENCRYPTION_KEY in the .env file.
2. Create a Cloudflare Tunnel
Head over to Cloudflare Zero Trust Dashboard:
- Go to Networks → Tunnels
- Click Create a tunnel
- Give it a name (something like
n8n-tunnel) - Choose Cloudflared as the connector
- Copy the tunnel token—this goes into your
.envfile asCLOUDFLARE_TUNNEL_TOKEN
3. Configure the Tunnel Route
Still in the Cloudflare dashboard:
- In your tunnel settings, go to Public Hostname
- Add a new public hostname:
- Subdomain:
n8n(or whatever you want) - Domain: Select your domain
- Service:
http://n8n:5678
- Subdomain:
This tells Cloudflare to route traffic from n8n.yourdomain.com to your n8n container.
4. Update Your docker-compose.yml
Replace YOUR_DOMAIN with your actual domain (e.g., n8n.yourdomain.com) and YOUR WEBHOOK URL with the full URL (e.g., https://n8n.yourdomain.com).
5. Fire It Up
docker compose up -dGive it a minute to pull the images and start. You can check the logs with:
docker compose logs -f6. Access n8n
Visit your domain (e.g., https://n8n.yourdomain.com) and you should see the n8n setup screen. Create your account and start building workflows!
If you’re using Portainer, you can also deploy this stack through the UI by copying the docker-compose.yml content into a new stack. Just make sure to add the environment variables in Portainer’s environment section.
Potential Improvements
- Set up automated backups – Use a cron job to backup the n8n_data volume regularly
# Add to crontab with: crontab -e
# Runs every Sunday at 3 AM
0 3 * * 0 docker run --rm -v n8n_n8n_data:/data -v ~/n8n-backups:/backup alpine tar czf /backup/n8n-backup-$(date +\%Y\%m\%d).tar.gz -C /data .- Add Watchtower – Automatically update your containers when new images are released
- Set up monitoring with Uptime Kuma – Track if your n8n instance goes down
Why Self-Host?
I’ll be honest. You could just use n8n’s cloud offering or stick with Zapier. But where’s the fun in that? Self-hosting means:
- No monthly fees eating into your budget
- No workflow limits holding you back
- Complete data privacy – your automations, your data, your server
- Learning experience – you actually understand what’s happening under the hood
Is it the easiest path? I mean, it is not that hard c’mon. Is it the most satisfying? Absolutely.
This was a fun project to spend some of my time and brain juice. Among all the chaos of new tools and frameworks, sometimes the best thing you can do is pick one thing, make it work, and actually use it. n8n is that thing for me right now. I really don’t need to send Telegram messages to my washing machine. Or, do I?
I’ve already designed and activated some nice automations that have been saving me time. I’ll share them here soon. Stay tuned!
Let me know if this works for you!
Cheers,
Berkem


